First off, you'll want to do a google search for an image with transparency for whatever it is that you want to do a mockup of. For the love of God, don't make the same mistake that I did and type "transparent onesie" into Google image search. There are a large number of adults out there who wear onesies, so I learned!
Now open Adobe InDesign! If you don't have it, get it! It's an amazing program, and you can play with the Samantha font in there all you like, then copy/paste it into Sil Studio! If you're using some other editing program, hopefully some of these steps will help you out!
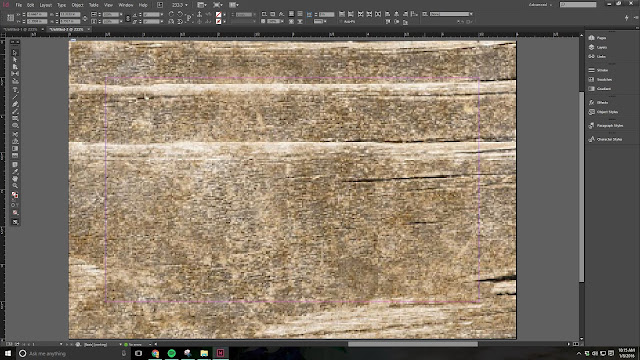
Take your rectangle frame tool (on the left side panel, it looks like a square with a cross through it) and make a frame around the entire outside of your image area. Now you can drag and drop any background image onto the ugly old white area!
https://www.google.ca/search?q=mockup+backgrounds&espv=2&biw=1920&bih=911&source=lnms&tbm=isch&sa=X&ved=0ahUKEwi07YHJ6JrKAhUH_mMKHaeTApwQ_AUIBigB#q=mockup+backgrounds&tbm=isch&tbs=sur:fc
Right click on the image (a greyish little circle should be visible first), then choose "Fitting" then "Fill Frame Proportionately".
I usually lock the background at this point (right click menu -- Lock), then I don't mess it up as I try to add other things!
Now draw another frame and drag & drop your transparent image into it.
Write some text on the image, or draw another frame and drop a picture... But here's your chance to play with your fonts, colors and designs. Fun!
Next, we're adding our watermark! That way, no one can steal our designs and sell them with your picture. The cheek! Make a text box, write in your watermark information. I like to use my webpage in a repetitive pattern. I choose between a transparency 10-20, depending on the background and images. This one is going to be a 10. Copy/paste that watermark all over. It's subtle enough that you can abuse it!
Next up... Adding the information! I usually do my text in black with a white background as you can see the text no matter what colors you have for a background. I'm using "Cimochi" as the font here as it has glyphs, like Samantha... You can easily change the letters around in InDesign!
Window -- Type & Tables -- Glyphs
It's that easy. Then all you have to do is highlight an individual letter, and it'll pop up with all the different choices you have for that letter. Beauty!
This is where I decided that I no longer liked the wood-look background, and changed it up. I then moved everything around to fit it all in there, saved it, then exported it as a JPEG so that it's all ready for my facebook page!


